
Create your Organization
Signup takes four short steps: Account, Verify, Address and Region. The person who signs up becomes the Organization’s Owner.
1. Create your account
Section titled “1. Create your account”-
Go to
https://rowseta.com/signup. -
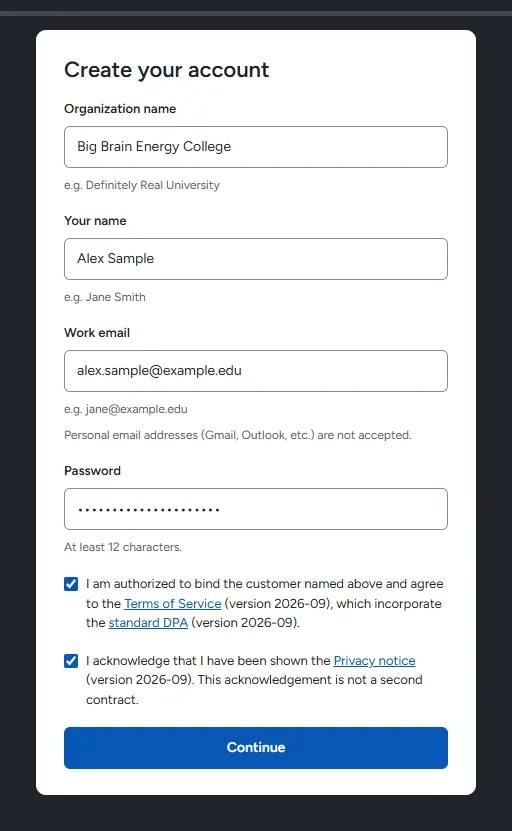
Enter your Organization name (your institution’s name), Your name, your Work email and a Password of at least 12 characters.
Personal email addresses (Gmail, Outlook and similar) are not accepted. Use your institutional address.
-
Tick the box to accept the Terms of Service, which include the standard DPA, and the box to acknowledge the Privacy notice.
-
Complete the security check if one appears, then select Continue.
2. Verify your email
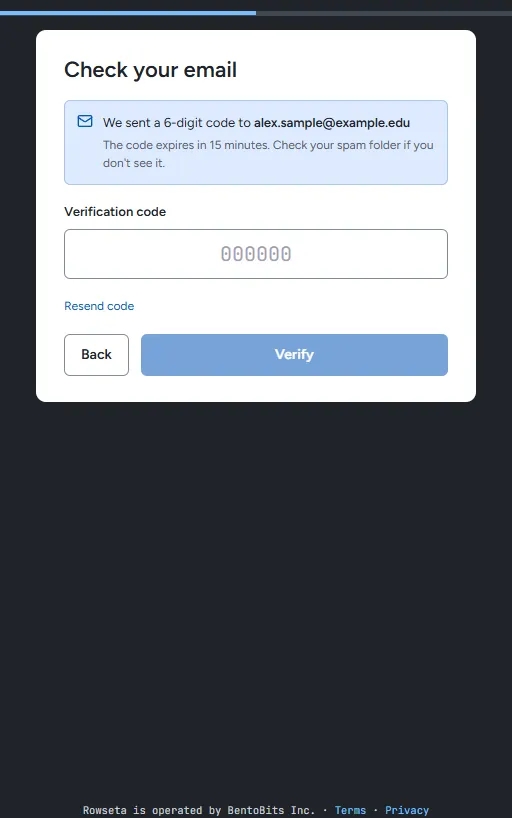
Section titled “2. Verify your email”- Open the email from Rowseta. It holds a 6-digit code. The code expires in 15 minutes; check your spam folder if you do not see it.
- Type the code in Verification code and select Verify.
You have three tries. If you need a new code, select Resend code (it becomes available again after 60 seconds).
3. Choose your Rowseta address
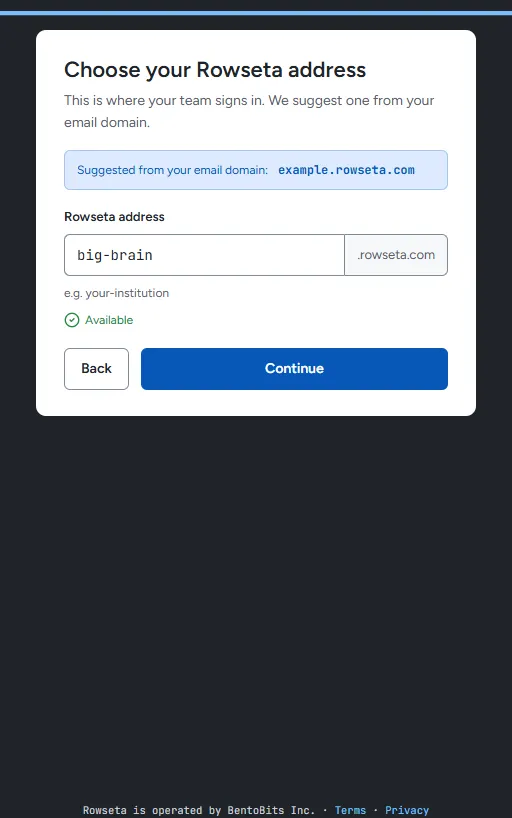
Section titled “3. Choose your Rowseta address”Your Rowseta address is where your team signs in, for example big-brain.rowseta.com.
- Rowseta suggests an address from your email domain. Keep it or type another.
- Use 3 to 50 characters: lowercase letters, numbers and hyphens only.
- Wait for Available, then select Continue.
The Rowseta address cannot be changed after signup.
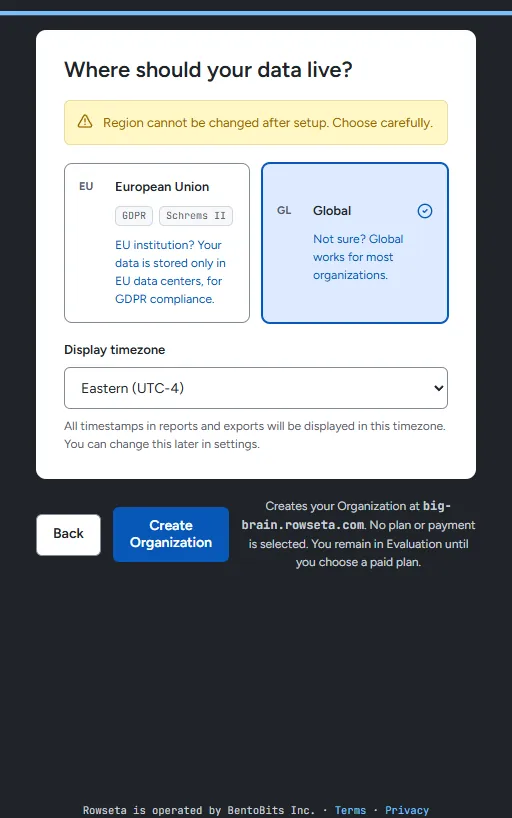
4. Choose your data region
Section titled “4. Choose your data region”- Select a region:
- Global works for most organizations. It has no guaranteed storage location.
- European Union configures analytical data at rest for EU storage. See the Security page for the scope of that choice.
- Check the Display timezone. All timestamps in reports and exports use it. You can change the timezone later under Settings > General.
- Select Create Organization.
No plan or payment is selected. Your Organization starts in Evaluation until you choose a paid plan. For what each region commits to, read the Security page.
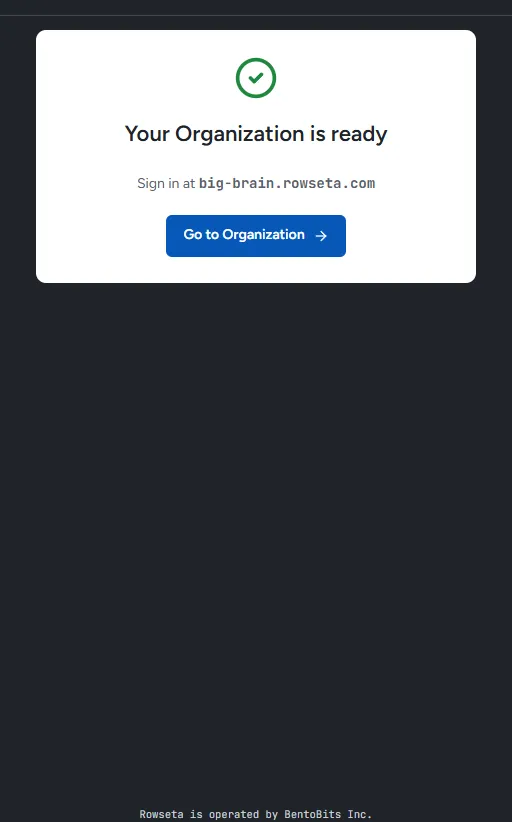
5. Open your Organization
Section titled “5. Open your Organization”When you see Your Organization is ready, select Go to Organization. You land on Home, which walks you through connecting Brightspace.