

Create an insight widget
If you don’t see this menu or button, your role doesn’t include it. Ask someone who can edit roles (Owners and Admins by default).
Before you start
Section titled “Before you start”You need at least one published report whose results include an OrgUnitId or Org Unit Id
column. The quickest way is to publish the Course visits by course template, or another
template marked as working with insight widgets. See
Report templates.
If you have no such report, the Insight widgets page says Publish a compatible report before creating your first insight widget with a link to Open Reports.
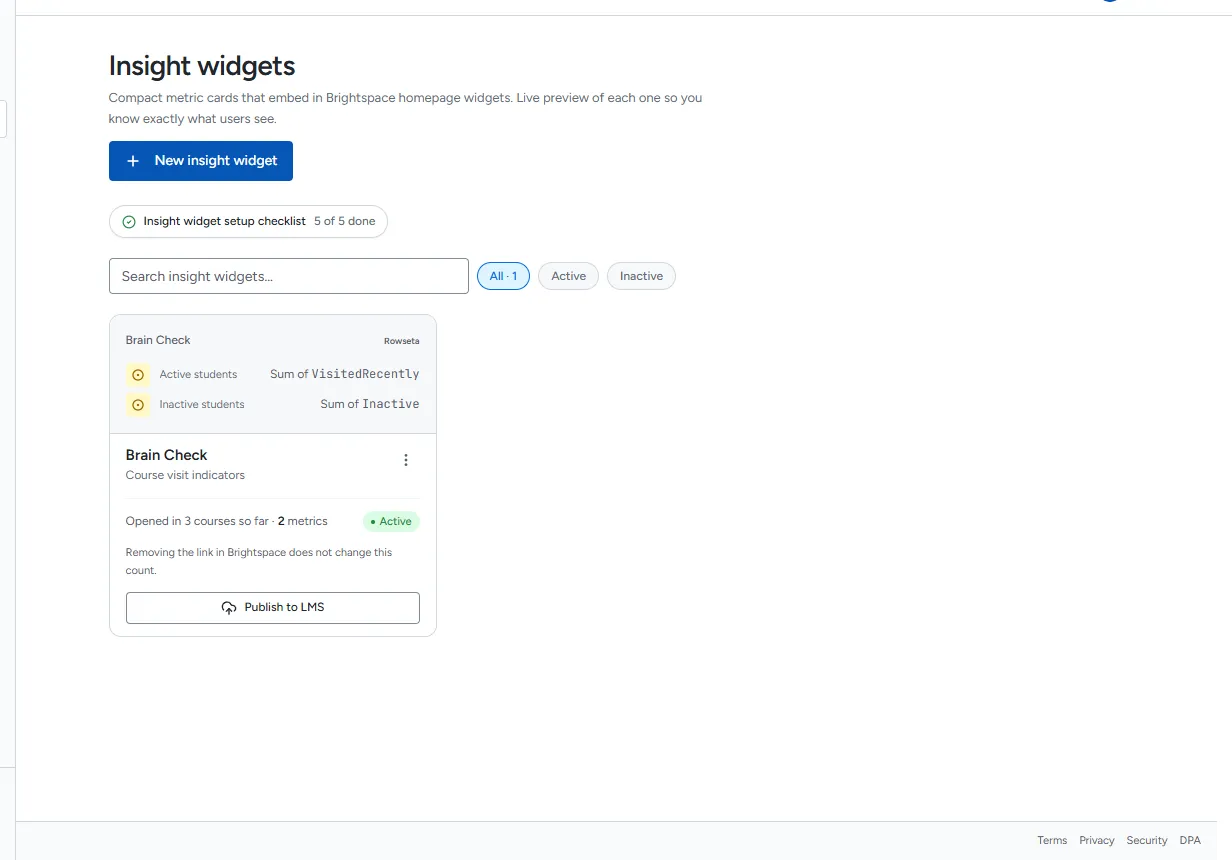
1. Start a new widget
Section titled “1. Start a new widget”- In the sidebar, select Insight widgets.
- Select New insight widget (or Create your first insight widget if you have none yet).
2. Name it
Section titled “2. Name it”- Replace Untitled Insight widget with a name instructors will recognise, for example “Brain Check”. Brightspace can show this name as the link name.
- Optionally describe what it shows.
Nothing is saved yet: the page says Draft, not saved yet.
3. Add the first metric
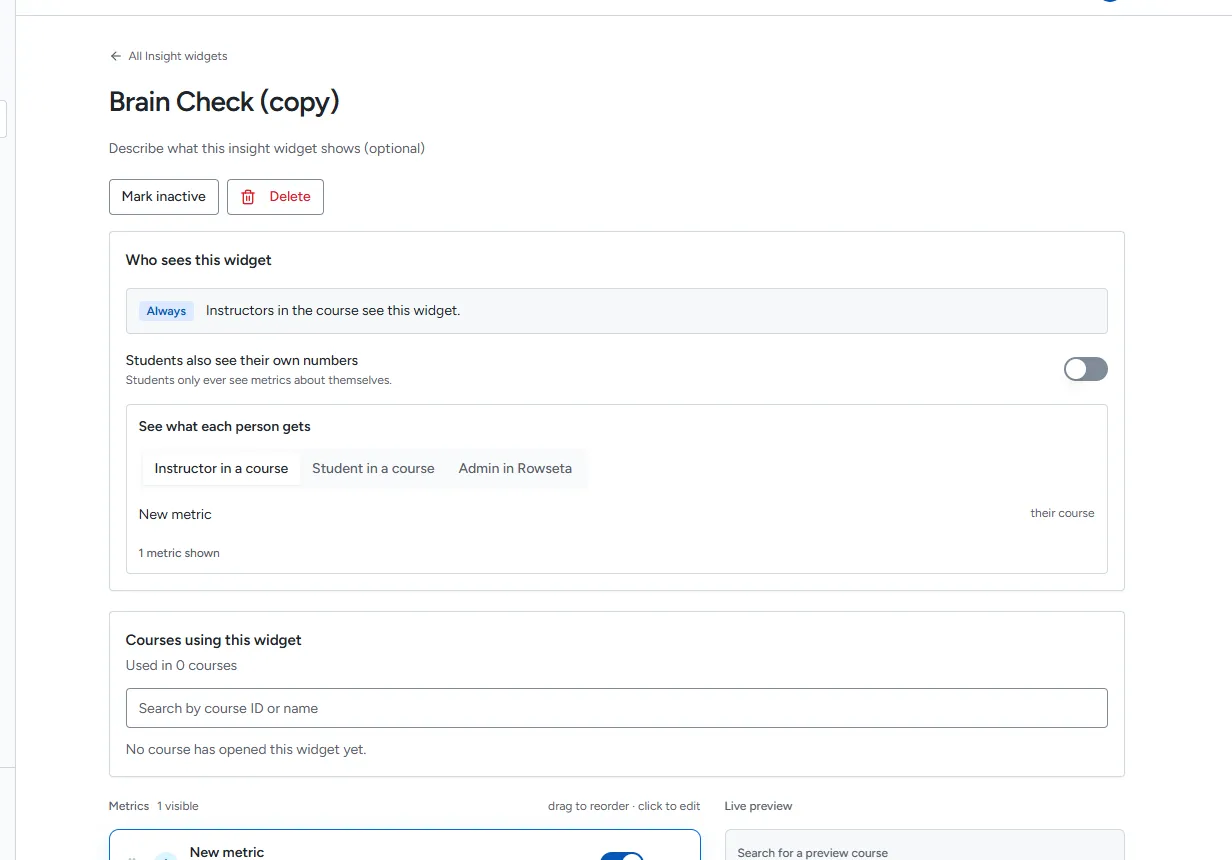
Section titled “3. Add the first metric”Select Add first metric. Rowseta creates the widget with one metric called “New metric” using your first compatible report, and opens the metric for editing.
From now on every change saves automatically; the top of the page shows Autosaved just now.
4. Set up the metric
Section titled “4. Set up the metric”Choose Source report, Metric name, and What to show. For a first metric, use Count of matching rows. Under How far this metric can see, choose the course so the number is limited to the course that opens the widget.
5. Check the preview
Section titled “5. Check the preview”In Search for a preview course, type a course name or ID and select a matching result to check the widget for that course.
Next step
Section titled “Next step”Put the widget in a Brightspace course.
Mark a widget inactive or active
Section titled “Mark a widget inactive or active”An inactive widget is hidden in every course but keeps its settings.
- In the widget editor, select Mark inactive or Mark active.
- Or, on the Insight widgets page, open the widget’s actions menu and select Mark inactive or Mark active.
While a widget is inactive, the editor shows This insight widget is inactive.
Delete a widget
Section titled “Delete a widget”- In the widget editor, select Delete, or use Delete in the widget’s actions menu.
- Confirm. Deleting cannot be undone.